Fedora Silverblue: Ultimate Post Installation Guide

We have all seen and at some point probably used those "10 things to do after installing Fedora (Workstation)" guides. Well, this a LurkerLabs take on it, specific to Fedora Silverblue and now updated for version 42.
After a fresh install, this getting started guide will help you rapidly set up Fedora Silverblue. While the package selection towards the bottom is naturally highly opinionated, I still feel there is value in sharing my approach, maybe less as a general recommendation and more as inspiration. Even though this guide is specific to Silverblue, many things outlined apply to other Fedora Atomic esktop variants as well.
Generally, the concept of Fedora Atomic Desktops and thus Silverblue strongly favors installing applications as flatpak, AppImage, using a toolbox/distrobox or any other container format really. Basically, in principle, one should give preference to anything that avoids layering packages onto the base system and reserve that option as a last resort solution only. With that, the decision to layer packages in this guide was made consciously, either because of necessity due to Fedora's restrictions on their own repositories, which for legal reasons prevents certain packages to be shipped in the base image (codecs, proprietary drivers), or to avoid compatibility issues (e.g. thumbnail support, VPN clients).
Silverblue 42 Quirks
One thing you might notice right out of the gate is the new default scaling behavior introduced with Silverblue 41. At least on all of my devices the default scaling factor was higher than it used to be and higher than my liking, causing everything to be too big.
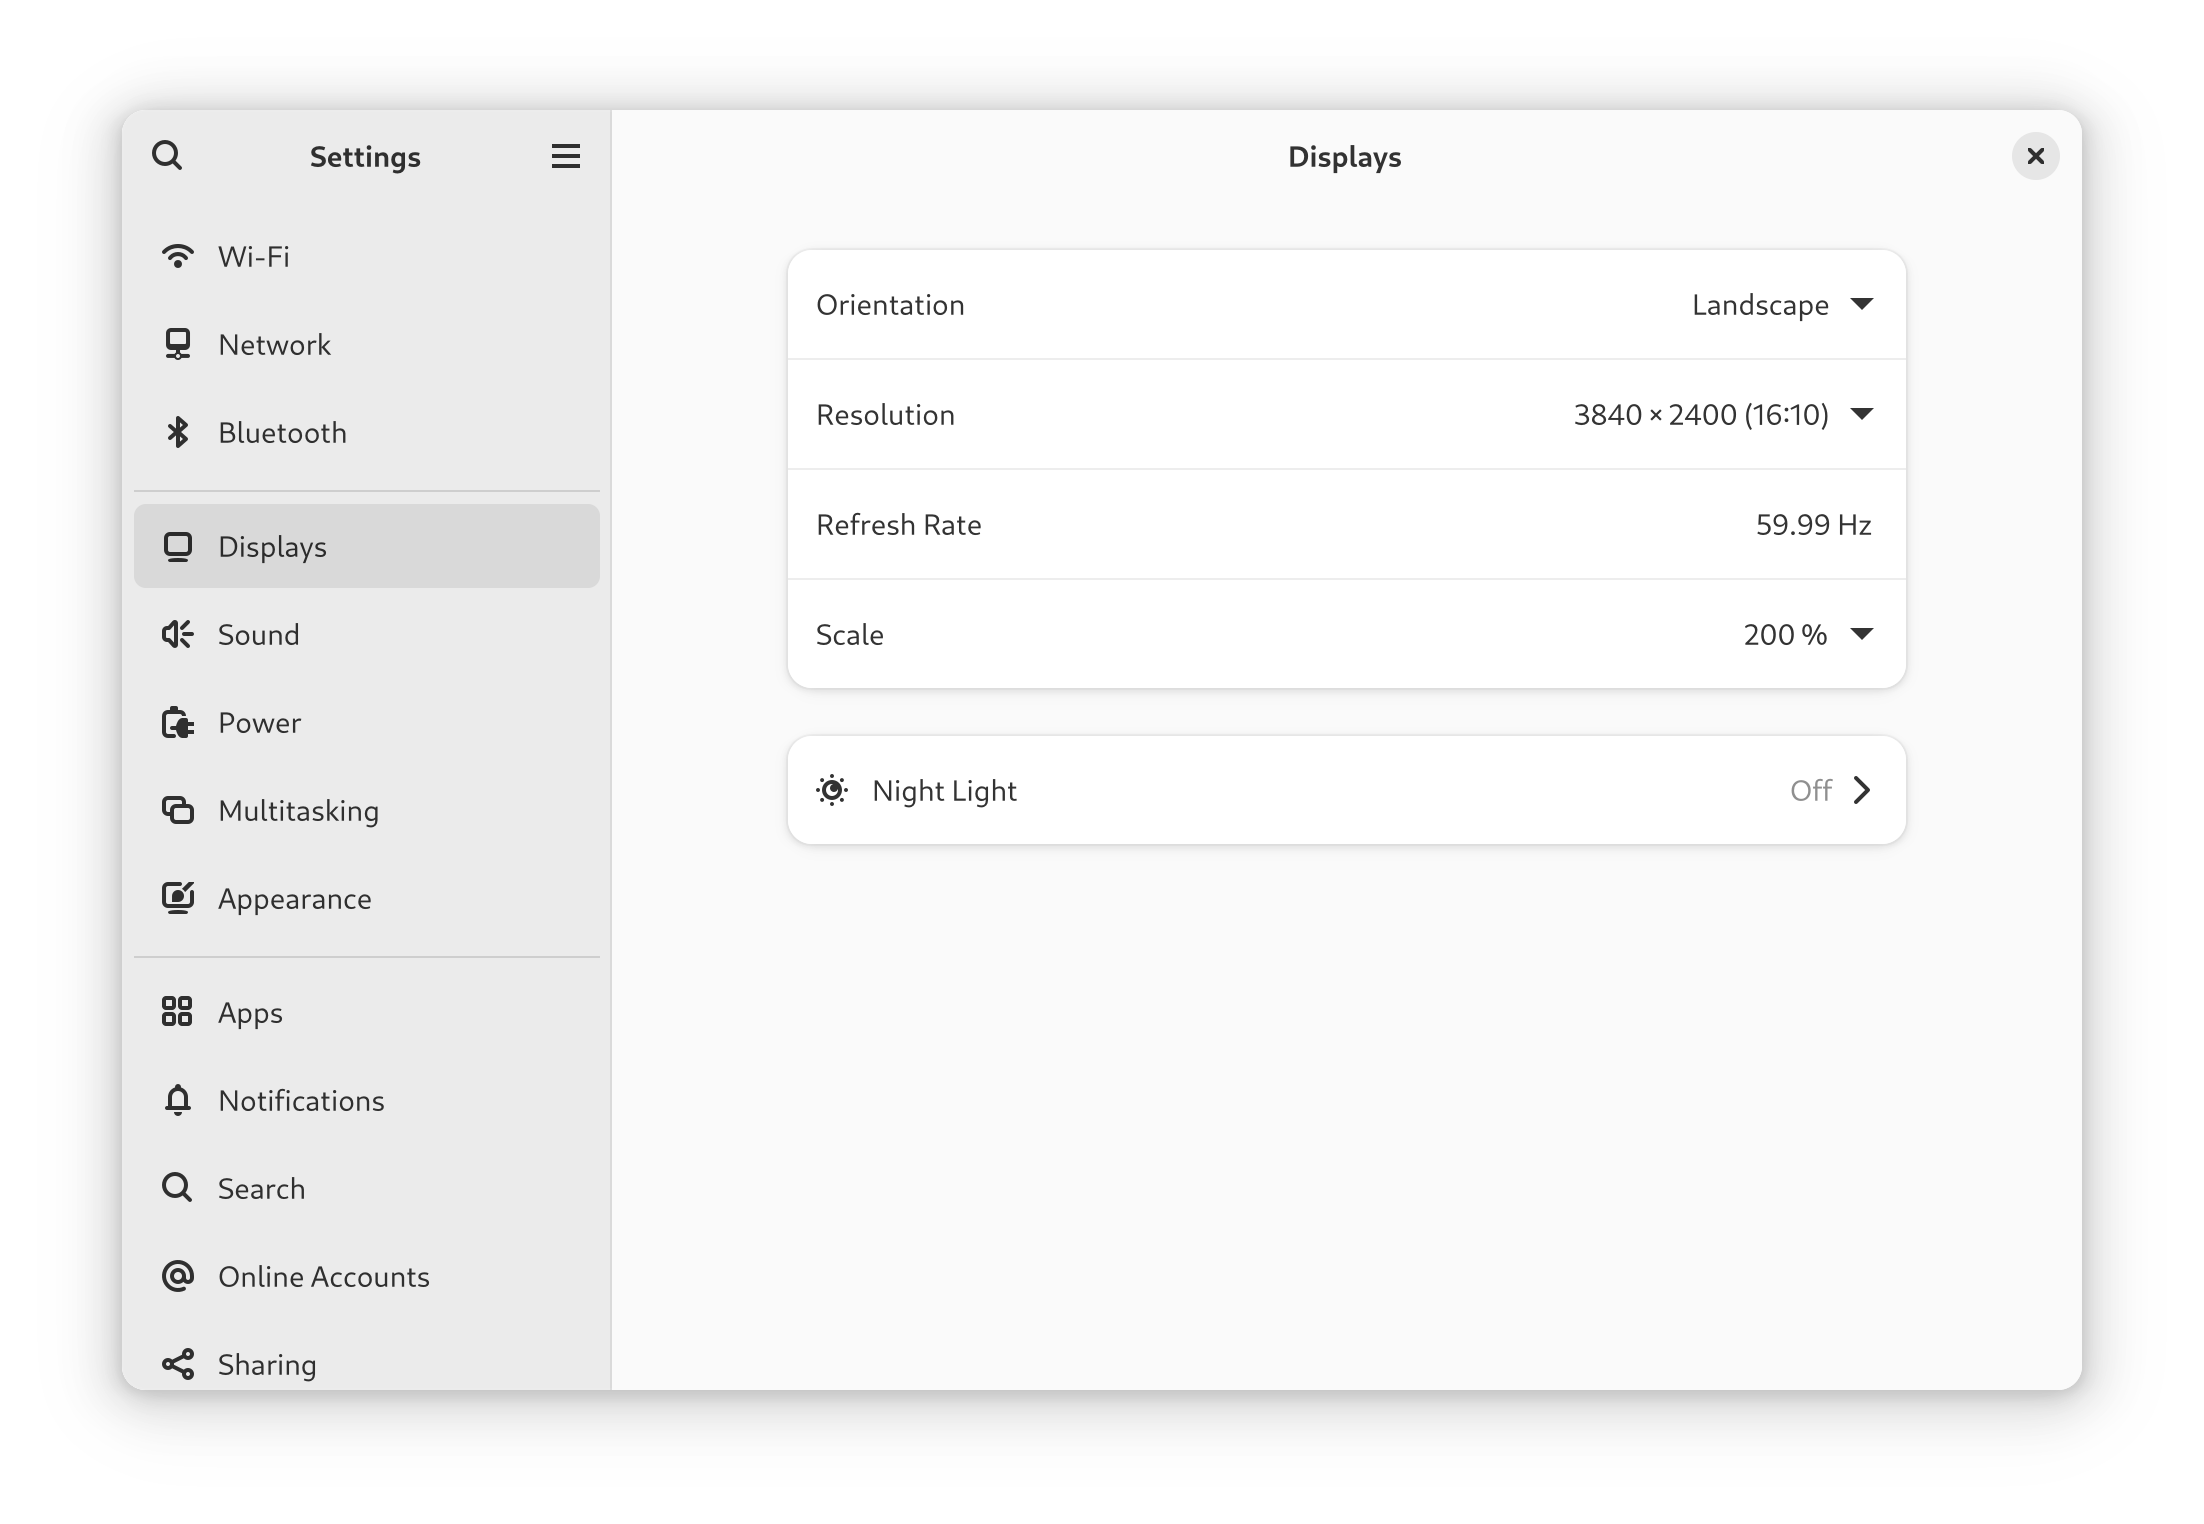
While this can easily be fixed for the current desktop session from within the settings app, the new default scaling factor is also applied to the GDM login screen. If you are like me and this annoys you, I will show you a way to fix this later. As I am using an app from flathub to change the GDM config, the relevant section will be located in the Flatpak section of this guide.
Set Host Name
hostnamectl set-hostname <hostname>This will set the pretty, static and transient host names for your Fedora Silverblue machine. When entering a pretty host name with spaces or symbols, make sure to wrap it in quotes like "Sam's Notebook". The static host name will be derived from that and have its spaces and special characters removed, whereas the transient one will then be automatically set based on the static one. They can also be set individually with the --pretty --static --transient flags, respectively.
To see the host names your system is using, enter the hostnamectl status command.
Make sure TRIM is working
Check if TRIM is enabled
As we have most likely installed Fedora Silverblue on a SSD, we check if TRIM is enabled. You might find TRIM is not working if you have opted to encrypt your data when installing Fedora Silverblue.
lsblk --discardLook for the output in the DISC-GRAN and DISC-MAX columns. Non-zero values indicate that the device supports discards. If you have opted to encrypt your disk during installation of Fedora Silverblue, your output might look like the one below.
NAME                                          DISC-ALN DISC-GRAN DISC-MAX DISC-ZERO
zram0                                                0        4K       2T         0
nvme0n1                                              0      512B       2T         0
├─nvme0n1p1                                          0      512B       2T         0
├─nvme0n1p2                                          0      512B       2T         0
└─nvme0n1p3                                          0      512B       2T         0
  └─luks-xxxxxxxx-xxxx-xxxx-xxxx-xxxxxxxxxxxx        0         0        0         0
As we can see, the physical device nvme0n1 and all its volumes support discards, yet the encrypted luks volume on nvme0n1p3 does not. This can further be verified by manually issuing a trim command with sudo fstrim /, which we expect in this case to throw an error message.
Allow discard requests to be passed through
By default, luks encrypted file systems do not support passing discard requests due to security concerns. For example, the crypttab man page states:
Allow discard requests to be passed through the encrypted block device. This improves performance on SSD storage, but has security implications.
The easiest way to enable TRIM on Linux is to pass the discard option in /etc/crypttab. As a matter of fact, if we check the contents of said file with sudo cat /etc/crypttab, we will see that the discard flag is already present. This is default for Fedora, so why is it TRIM not working?
Unlike Fedora Workstation, Silverblue does not seem to parse the crypttab file into the initramfs image used for booting the kernel. There is actually a long-standing bug report about this.
Now, we could fix this by adding /etc/crypttab into the initramfs image ourselves (rpm-ostree initramfs --enable --arg=-I --arg=/etc/crypttab), but this would cause rpm-ostree to rebuild the initramfs on every deployment.
This leaves us with two options. Either use kernel arguments or modify the LUKS header. Both leave initramfs untouched. F43 will probably default to creating LUKS headers with allow-discards. I would therefore suggest going ahead with that option. It also feels like the least invasive. Yet, for reference sake, I will also outline the option using kernel arguments.
Change LUKS headers to allow discards
cryptsetup --allow-discards --persistent refresh luks-xxxxxxxx-xxxx-xxxx-xxxx-xxxxxxxxxxxxAlternative Method: Use Kernel Arguments to allow discards
We replicate the contents of /etc/crypttab and parse it as kernel arguments instead.
rpm-ostree kargs --append=rd.luks.options=xxxxxxxx-xxxx-xxxx-xxxx-xxxxxxxxxxxx=discardReboot and verify TRIM is enabled
After a reboot, lsblk -D should report non-zero values and sudo fstrim / should work.
rpm-ostree kargs --delete=KEY=VALUE or interactively inspected and modified with an editor rpm-ostree kargs --editor.Btrfs Mount Options
First, we check how our Btrfs volumes are currently mounted.
mount | grep btrfsFrom that output, we can observe two flags, which we will take a closer look at: compress=zstd:1 and relatime.
One neat feature of Btrfs, the default file system in Fedora, is its support for transparent compression. When enabled, files are automatically compressed when being written to the disk. Compressing data before writing it can be both: beneficial and disadvantageous to performance, depending on the workload. In any case, however, it will reduce the amount of write cycles to our SSD as well as reduce write amplification. With that, we will leave it enabled with the zstd algorithm and on the lowest level (1).
There are countless discussions online, suggesting that one should use compress-force with zstd, as otherwise files that would benefit from compression could be falsely marked as incompressible. While valid, new kernels come with improved heuristics to better determine (in)compressibility and go further than trying to compress the first chunk only. The heuristics aim to do a few quick statistical tests on the compressed data to avoid wasting CPU cycles on compression that would eventually turn out to be inefficient anyway.
Compression algorithms like zstd usually have internal detection of incompressible data built in too, so even if forcing Btrfs to compress all data, incompressible files would still be skipped by zstd, but this could lead to more overhead as the compression is done in another thread and has to write the data anyway.
Ultimately, the choice is yours, but I for myself opted to stick to the defaults here and not force compression.
The other flag we wanted to look at was the access timestamp one. Simplifying a lot here, but basically, whenever a file is accessed, its associated access timestamp is updated. In reality, it's a bit more complex, as Linux nowadays defaults to a relative access time stamp (relatime), but to keep it short: Any performance benefits from disabling access time stamps might at this point be anecdotal only. As I do not have any use case for access time stamps (and probably neither do you), disabling them still saves on unnecessary writes to the SSD. Hence, that's what I decided to do.
sudo sed -i 's/compress=zstd:1/noatime,compress=zstd:1/' /etc/fstabUpdate Firmware
sudo fwupdmgr refresh --force && \
sudo fwupdmgr get-updates && \
sudo fwupdmgr update
Disable Repositories
sudo sed -i 's/enabled=1/enabled=0/' \
  /etc/yum.repos.d/_copr:copr.fedorainfracloud.org:phracek:PyCharm.repo \
  /etc/yum.repos.d/fedora-cisco-openh264.repo \
  /etc/yum.repos.d/google-chrome.repo \
  /etc/yum.repos.d/rpmfusion-nonfree-nvidia-driver.repo \
  /etc/yum.repos.d/rpmfusion-nonfree-steam.repo
We are then going to (re-)enable the cisco-openh264 repository, as we are going to need it to satisfy dependencies when installing ffmpeg for Firefox hardware acceleration as well as video thumbnail support.
sudo sed -i 's/enabled=0/enabled=1/' \
  /etc/yum.repos.d/fedora-cisco-openh264.repo
Add RPM Fusion Repos
For legal reasons, Fedora Silverblue ships with free and open-source software only. Since we want proper codec support and require proprietary binaries for full hardware acceleration, we add the RPM Fusion repositories.
rpm-ostree install \
  https://mirrors.rpmfusion.org/free/fedora/rpmfusion-free-release-$(rpm -E %fedora).noarch.rpm \
  https://mirrors.rpmfusion.org/nonfree/fedora/rpmfusion-nonfree-release-$(rpm -E %fedora).noarch.rpm
Make sure to reboot after adding the RPM Fusion repositories!
The way RPM Fusion gets added ties it to a specific version of Fedora (Silverblue). This isn't a problem in itself, but will cause issues when rebasing (upgrading your distribution) to a future version once released. To fix this and remove the dependency on the specific version, we need to execute another step.
rpm-ostree update \
--uninstall $(rpm -q rpmfusion-free-release) \
--uninstall $(rpm -q rpmfusion-nonfree-release) \
--install rpmfusion-free-release \
--install rpmfusion-nonfree-release
Enable GPU Hardware Acceleration
Intel
rpm-ostree install intel-media-driverintel-media-driver package supports all platforms from 2014 (Broadwell, 5th Gen) onward. If you are on an older platform, you need to install libva-intel-driver instead. In that case, you can skip the next steps and move on to the next chapter.Since Intel 9th Gen (Skylake and later), Intel GPUs use firmware (GuC and HuC) that have power, performance benefits, and functionalities, such as scheduling and media offloading.
Intel explains it this way:
GuC is designed to perform graphics workload scheduling on the various graphics parallel engines.
HuC is designed to offload some of the media functions from the CPU to GPU. These include bitrate control and header parsing. (...) Using the HuC will save unnecessary CPU-GPU synchronization.
For Gen11+ GPUs, GuC/HuC firmware is loaded by default. You can check that it's active with the following two commands.
sudo dmesg | grep "HuC"sudo dmesg | grep "GuC"For older GPUs, GuC/HuC firmware won't be activated by default. It is possible to enable loading of the firmware using a kernel parameter. It can be activated by issuing the following command: rpm-ostree kargs --append=i915.enable_guc=3
rpm-ostree kargs --delete=i915.enable_guc=3AMD/NVIDIA
If you need to enable hardware acceleration for a GPU other than Intel (e.g. AMD or Nvidia), please see here.
Hardware Acceleration and Video Playback Support in Mozilla Firefox
To achieve hardware acceleration in Firefox on Fedora Silverblue, we need to install the relevant codecs. One could just use the flatpak version, which comes with full codec support and does not require us to layer any additional packages. Unfortunately, due to the sandboxed nature of flatpaks, for now, this introduces a couple of issues, for example, with password managers. Also, it's not possible to install and manage gnome extensions from their extension website (which shouldn't be a huge concern though, as I would recommend the wonderful Extension Manager for that purpose anyway). Unlike the Chrome flatpak, FIDO and U2F security keys are working with Firefox flatpak.
If you like, you could just override remove the firefox and firefox-langpacks packages and install the org.mozilla.firefox and org.freedesktop.Platform.ffmpeg-full packages form flathub instead.
rpm-ostree --install libavcodec-freeworldOverride Layered Packages (optional)
rpm-ostree override remove gnome-tourLayer Additional Packages
Distrobox
rpm-ostree install distrobox Add Video Thumbnail Support
rpm-ostree install ffmpegthumbnailerGnome Tweak Tool
rpm-ostree install gnome-tweak-toolAdd a libadwaita theme for GTK3 Apps
rpm-ostree install adw-gtk3-themeHEIF and AVIF Support
rpm-ostree install heif-pixbuf-loader \
                   libheif-freeworld \
                   libheif-tools
Add Bluetooth AptX Codec
rpm-ostree install pipewire-codec-aptxInstall Packages from Third-Party Repos
1Password Beta
Add the 1Password beta repository
sudo sh -c 'echo -e "[1password]\nname=1Password Beta Channel\nbaseurl=https://downloads.1password.com/linux/rpm/beta/\$basearch\nenabled=1\ngpgcheck=1\nrepo_gpgcheck=1\ngpgkey=\"https://downloads.1password.com/linux/keys/1password.asc\"" > /etc/yum.repos.d/1password.repo'Add the repo key
sudo wget https://downloads.1password.com/linux/keys/1password.asc -O /etc/pki/rpm-gpg/1password.ascChange the repo key to be local
sudo sed -i 's\"https://downloads.1password.com/linux/keys/1password.asc"\file:///etc/pki/rpm-gpg/1password.asc\' /etc/yum.repos.d/1password.repoInstall the package
rpm-ostree install 1passwordTailscale
Add the Tailscale repository
sudo curl -s https://pkgs.tailscale.com/stable/fedora/tailscale.repo -o /etc/yum.repos.d/tailscale.repo > /dev/nullAdd the repo key
sudo wget https://pkgs.tailscale.com/stable/fedora/repo.gpg -O /etc/pki/rpm-gpg/tailscale.gpgChange the repo key to be local
sudo sed -i 's\"https://pkgs.tailscale.com/stable/fedora/repo.gpg"\file:///etc/pki/rpm-gpg/tailscale.gpg\' /etc/yum.repos.d/tailscale.repoInstall the package
rpm-ostree install --apply-live tailscaleUse systemd to start the service
sudo systemctl enable --now tailscaledConnect to your Tailscale Network
sudo tailscale upSublime Text and Merge Dev Builds
Add the Sublime Dev repository
sudo curl -s https://download.sublimetext.com/rpm/dev/x86_64/sublime-text.repo -o /etc/yum.repos.d/sublime-text.repo > /dev/nullAdd the repo key
sudo wget https://download.sublimetext.com/sublimehq-rpm-pub.gpg -O /etc/pki/rpm-gpg/sublimehq-rpm-pub.gpgChange the repo key to be local
sudo sed -i 's\"https://download.sublimetext.com/sublimehq-rpm-pub.gpg"\file:///etc/pki/rpm-gpg/sublimehq-rpm-pub.gpg\' /etc/yum.repos.d/sublime-text.repoInstall the packages
rpm-ostree install sublime-text sublime-mergeFlatpaks
Add Flathub Remote
flatpak remote-add --if-not-exists flathub https://flathub.org/repo/flathub.flatpakrepoflatpak remote-modify --enable flathubRemove Fedora Flatpak Repository
Fedora and thus Silverblue ships with its own flatpak repository. For the sake of consistency, I prefer to use flatpaks from flathub only. We are therefore replacing Fedora's flatpaks with packages from flathub and then removing Fedora's flatpak repo.
flatpak install --reinstall flathub $(flatpak list --app-runtime=org.fedoraproject.Platform --columns=application | tail -n +1 )flatpak remote-delete fedoraflatpak install --reinstall flathub name.of.application and try again.Install Additional Flatpaks from Flathub
flatpak install flathub org.gnome.FileRoller \
                        com.github.tchx84.Flatseal \
                        io.github.celluloid_player.Celluloid \
                        com.mattjakeman.ExtensionManager
Install GDM Settings to Fix Login Screen Scaling
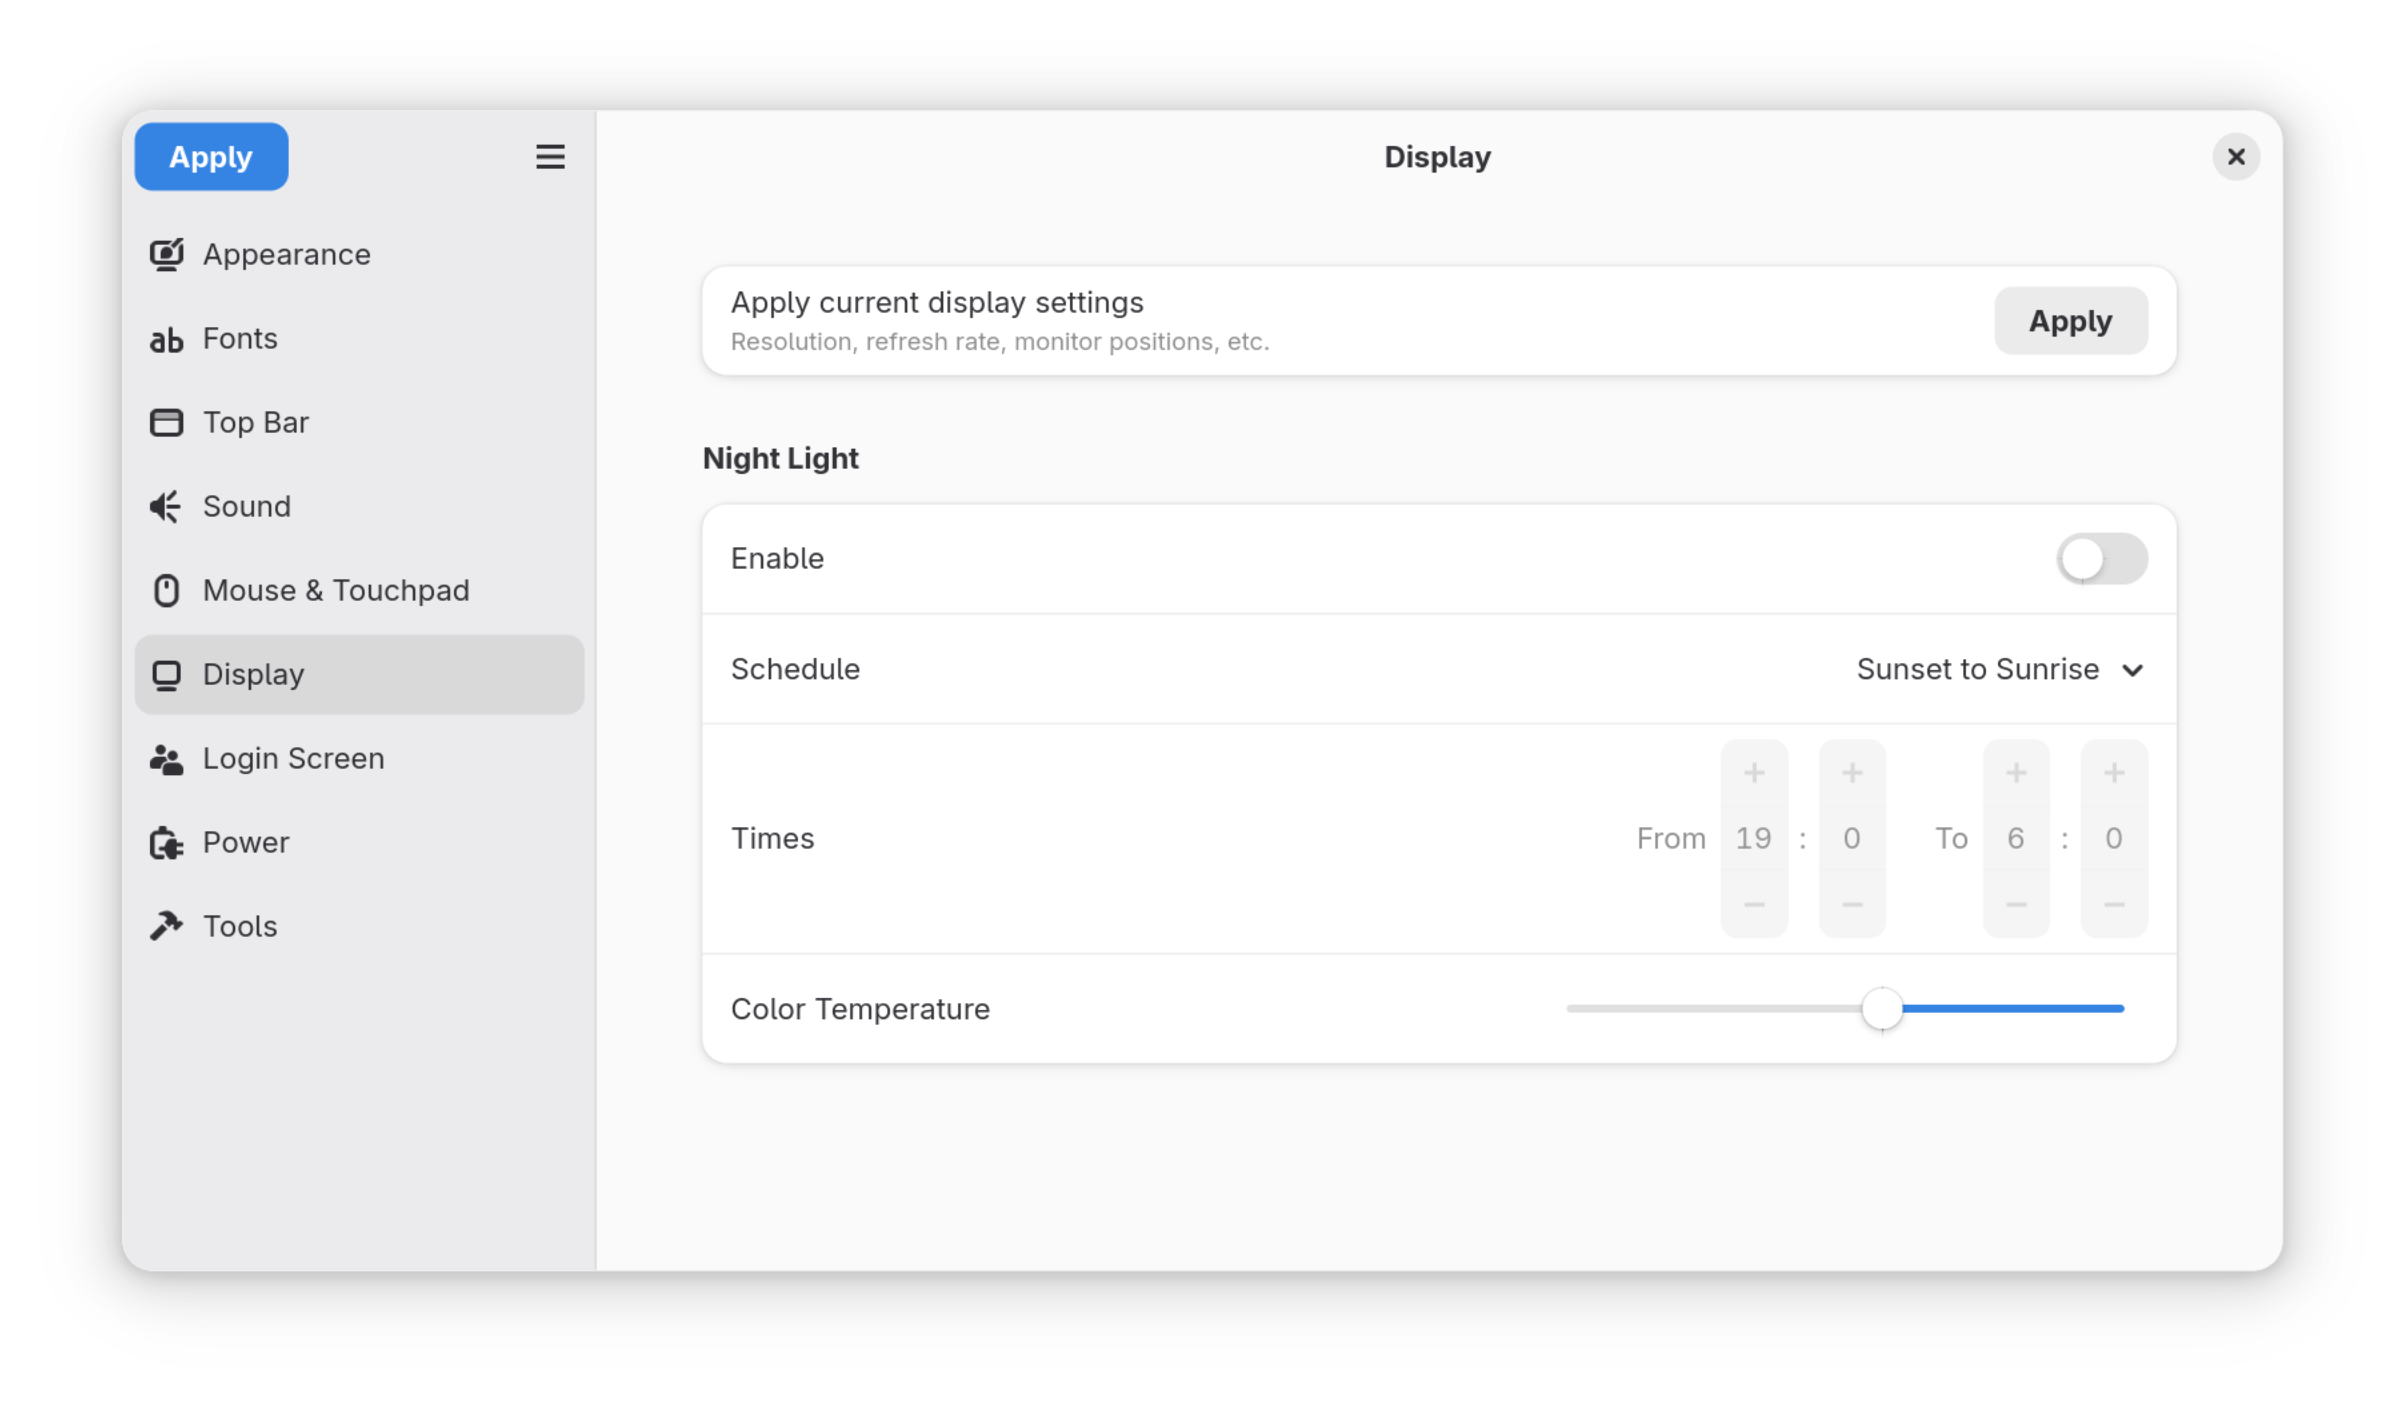
flatpak install flathub io.github.realmazharhussain.GdmSettingsOnce installed, open GDM Settings, go to the "Display" settings, and hit apply. This will apply your current display settings including the scaling factor to your login screen (display manager).
Gnome Extensions
AppIndicator Support
rpm-ostree install gnome-shell-extension-appindicator (the version from the fedora repos already has the changes applied).Add AppIndicator support (tray icons) with a gnome extension. Either copy the command below or use the Extension Manager from flathub.
gdbus call --session \
           --dest org.gnome.Shell.Extensions \
           --object-path /org/gnome/Shell/Extensions \
           --method org.gnome.Shell.Extensions.InstallRemoteExtension \
           "appindicatorsupport@rgcjonas.gmail.com"
Battery Health Charging (for supported Laptops)
Battery Health Charging allows quickly setting custom charging thresholds to improve battery life.
gdbus call --session \
           --dest org.gnome.Shell.Extensions \
           --object-path /org/gnome/Shell/Extensions \
           --method org.gnome.Shell.Extensions.InstallRemoteExtension \
           "Battery-Health-Charging@maniacx.github.com"
Depending on your device's manufacturer, additional dependencies are required and need to be layered. See the author's wiki for details.
Legacy (GTK3) Theme Auto Switcher
This extension changes the GTK3 theme to light/dark variant based on the system color scheme. This is especially helpful when using the adw-gtk3-theme.
gdbus call --session \
           --dest org.gnome.Shell.Extensions \
           --object-path /org/gnome/Shell/Extensions \
           --method org.gnome.Shell.Extensions.InstallRemoteExtension \
           "legacyschemeautoswitcher@joshimukul29.gmail.com"
Font Configuration
I prefer to use Inter as default font for the user interface. Other popular choices are Clear Sans (intel-clear-sans-fonts) as well as the Roboto (google-roboto-fonts) and Noto font families. Noto is actually already installed as it has been the default since F36 except for the Gnome Desktop which defaults to Cantarell.
rpm-ostree install rsms-inter-fontsAfter rebooting, fonts can be changed in Gnome Tweaks, for example from Cantarell to Inter.
Font legibility especially for Inter can further be improved with stem darkening.
sudo echo "FREETYPE_PROPERTIES=\"cff:no-stem-darkening=0 autofitter:no-stem-darkening=0\"" | tee -a /etc/enviroment